This is my first ever all-my-own DIY project. As far as I am concerned, I created this entirely myself. I have given it the name 'Junk Tree" because that is literally what it is...a tree made from junk. In this post you will get step by step picture and word instructions. You can make one like mine...or I encourage you to add your own style:) Lets get started!
You will need:
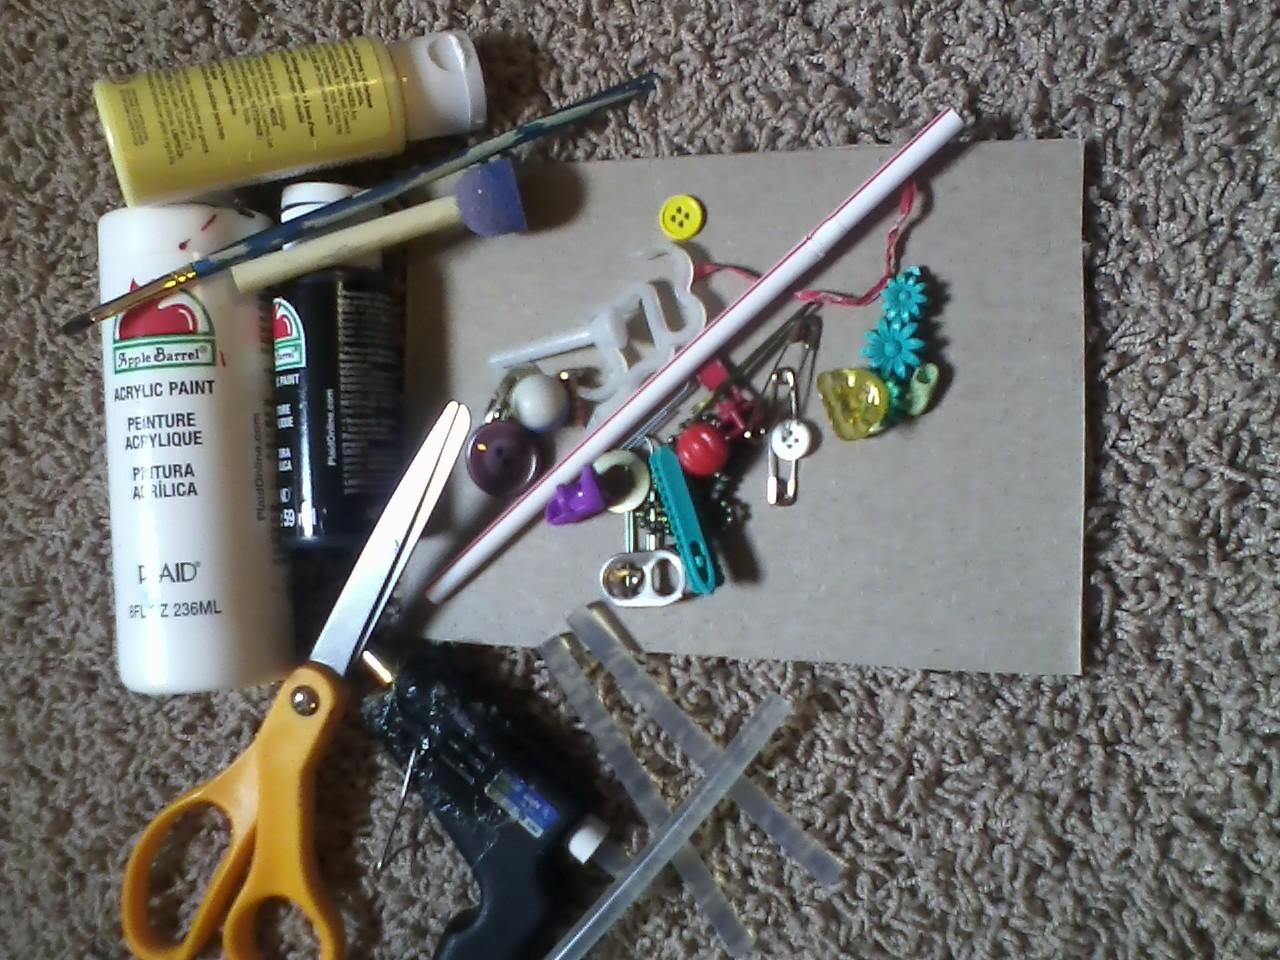
Cardboard or canvas
Hot glue gun and sticks
Scissors
Junk! (I used straws, barrets, buttons, poptabs, pins, marbles, doll shoes, etc)
Optional:
Paint
Paint brushes
First: you are going to sketch out the basic tree shape as a guideline on your cardboard or canvas.
Next: lay out some of the larger things just to get an idea of how they fill the space.
Next: Glue everything down. I found it helpful to take a picture of the original layout from before to look at when I got stuck. Because you are making a shape from the materials...it can be tricky...just remember: we are capturing nature and nature isn't perfect.
Last: You can choose to be done the step before if that is the look you are going for, but I wanted it to be all one color scheme...I chose grey, white, black, and a pale yellow.
And now you are done!


%20%20By%20MyTinyMouse)


)

)

)

)

)


)